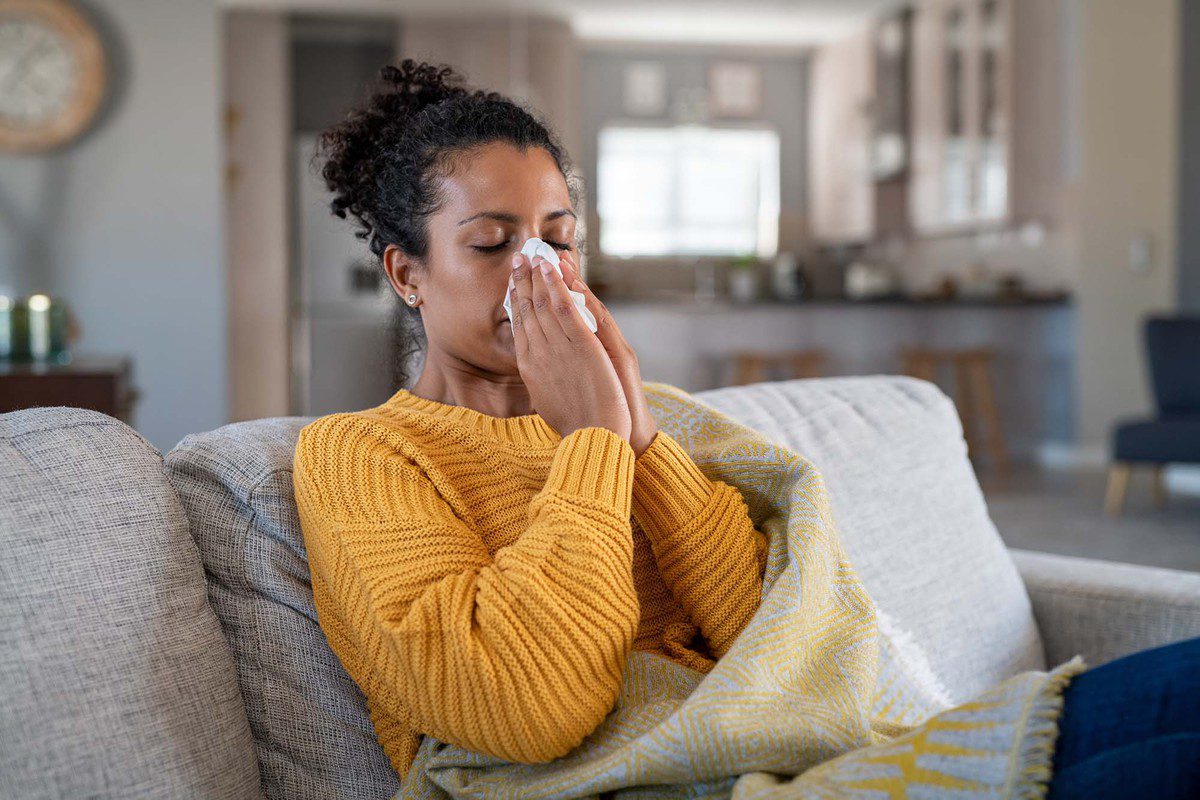
The sun is shining, the birds are singing, and the trees and plants are releasing allergy-fueled pollen bombs that trigger sniffling, sneezing, coughing, itchy, watery eyes, and certain inescapable insanity.
Isn’t summer fun?
If you are an allergy or asthma sufferer, it can be hard to get into the laid-back feel of the summer. However, there are some things you can do to reduce exposure to symptom-causing allergens and ensure a healthier, happier season.
- First, identify what is triggering your symptoms. If you’re unsure, schedule a visit with your doctor. They may refer you to an allergist who can determine the best test for your symptoms and help you identify the causes.
- During peak pollen season, reduce your exposure to the outdoors. This not only means avoiding pollen-infused nature when possible but keeping your windows closed to ensure the outside doesn’t come inside. Pollen can come in through screens and open windows, triggering symptoms even when you’re not enjoying the benefits of nature.
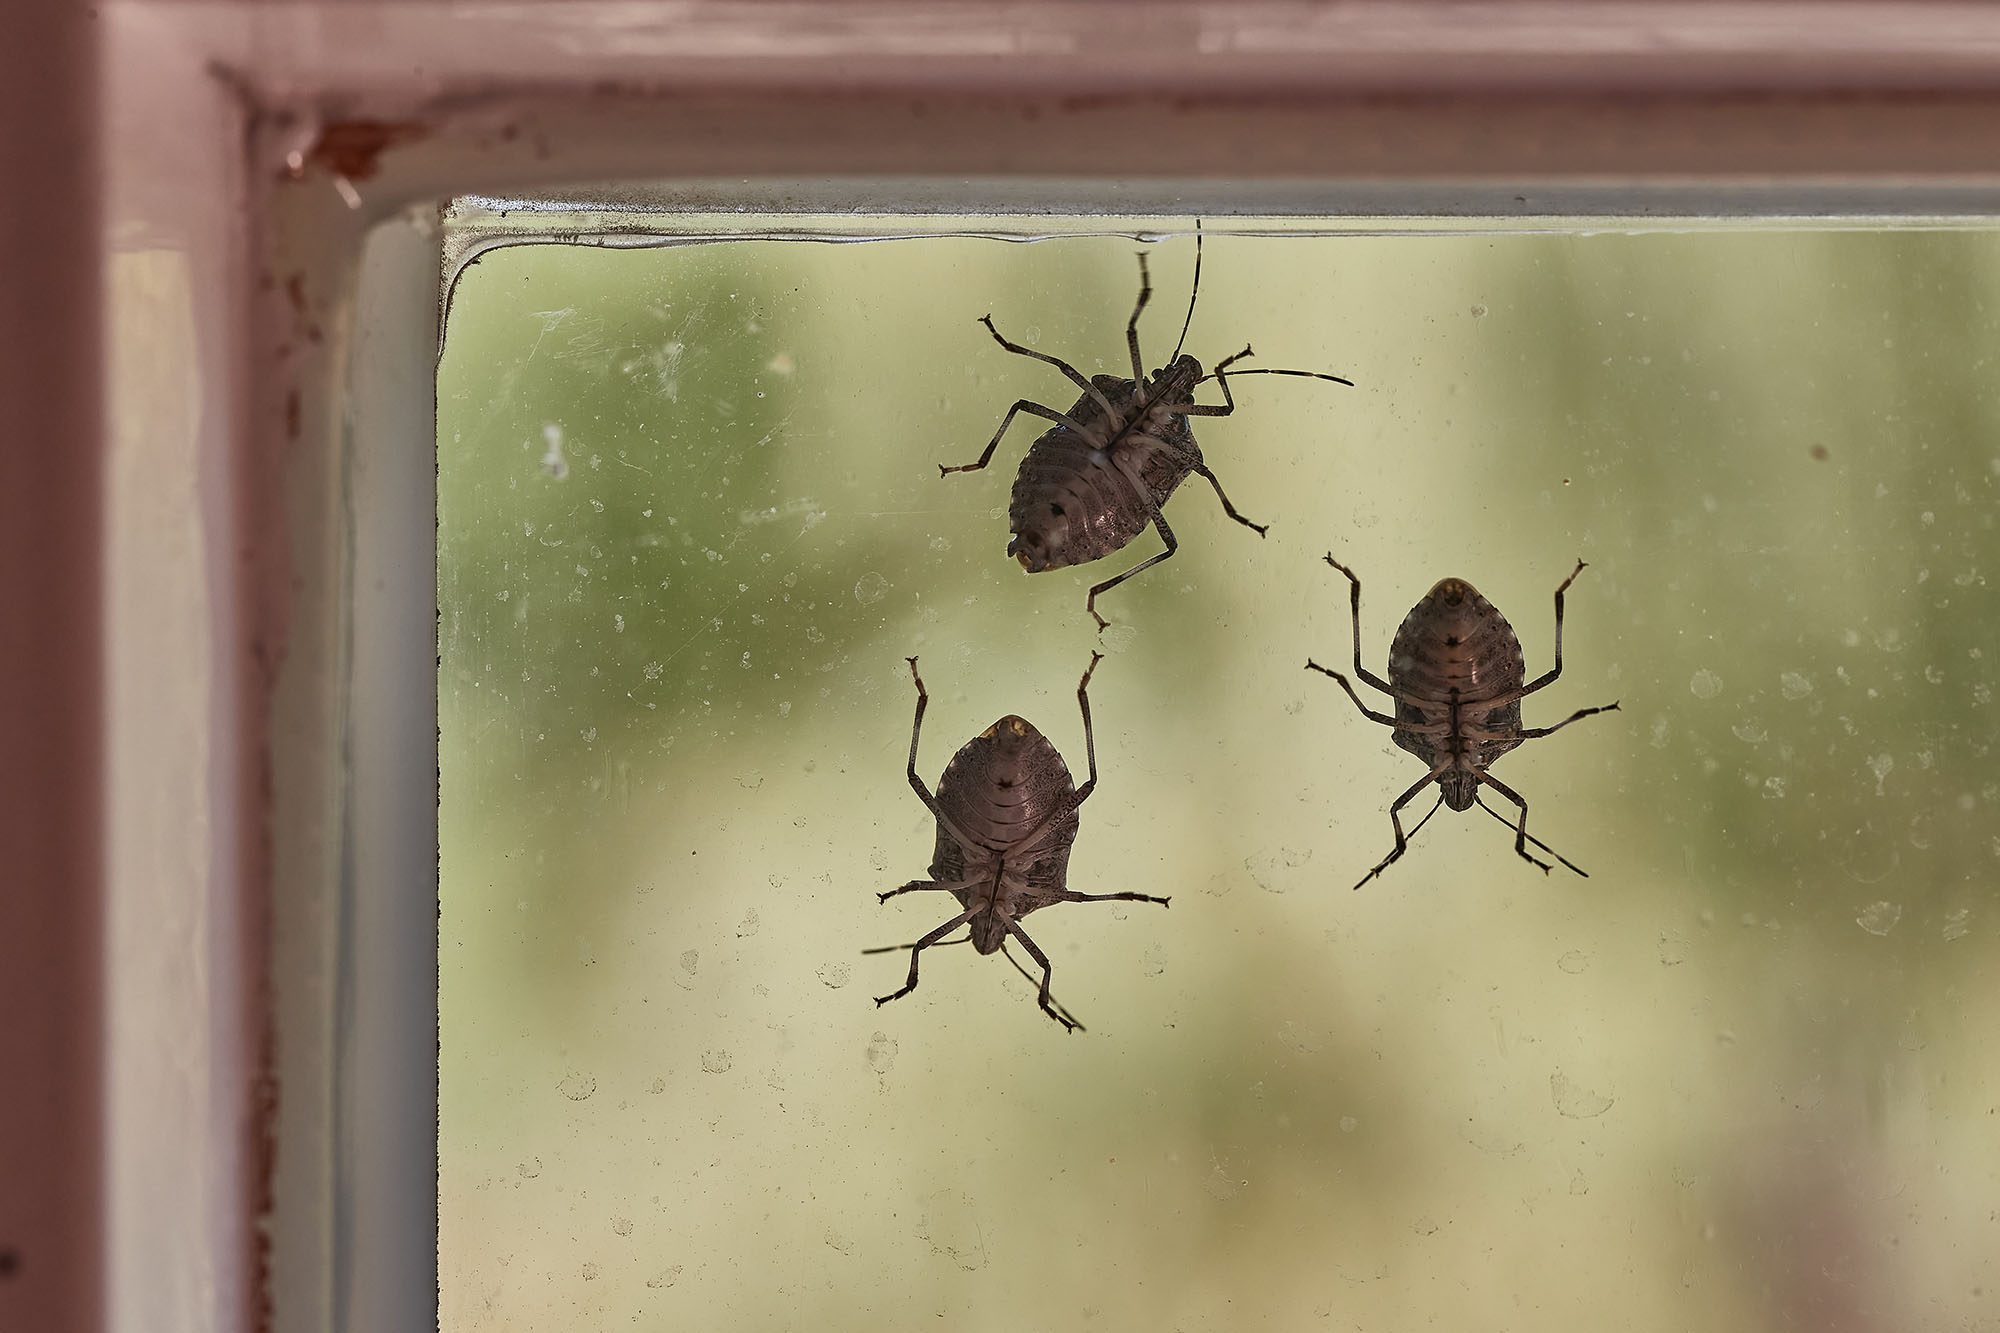
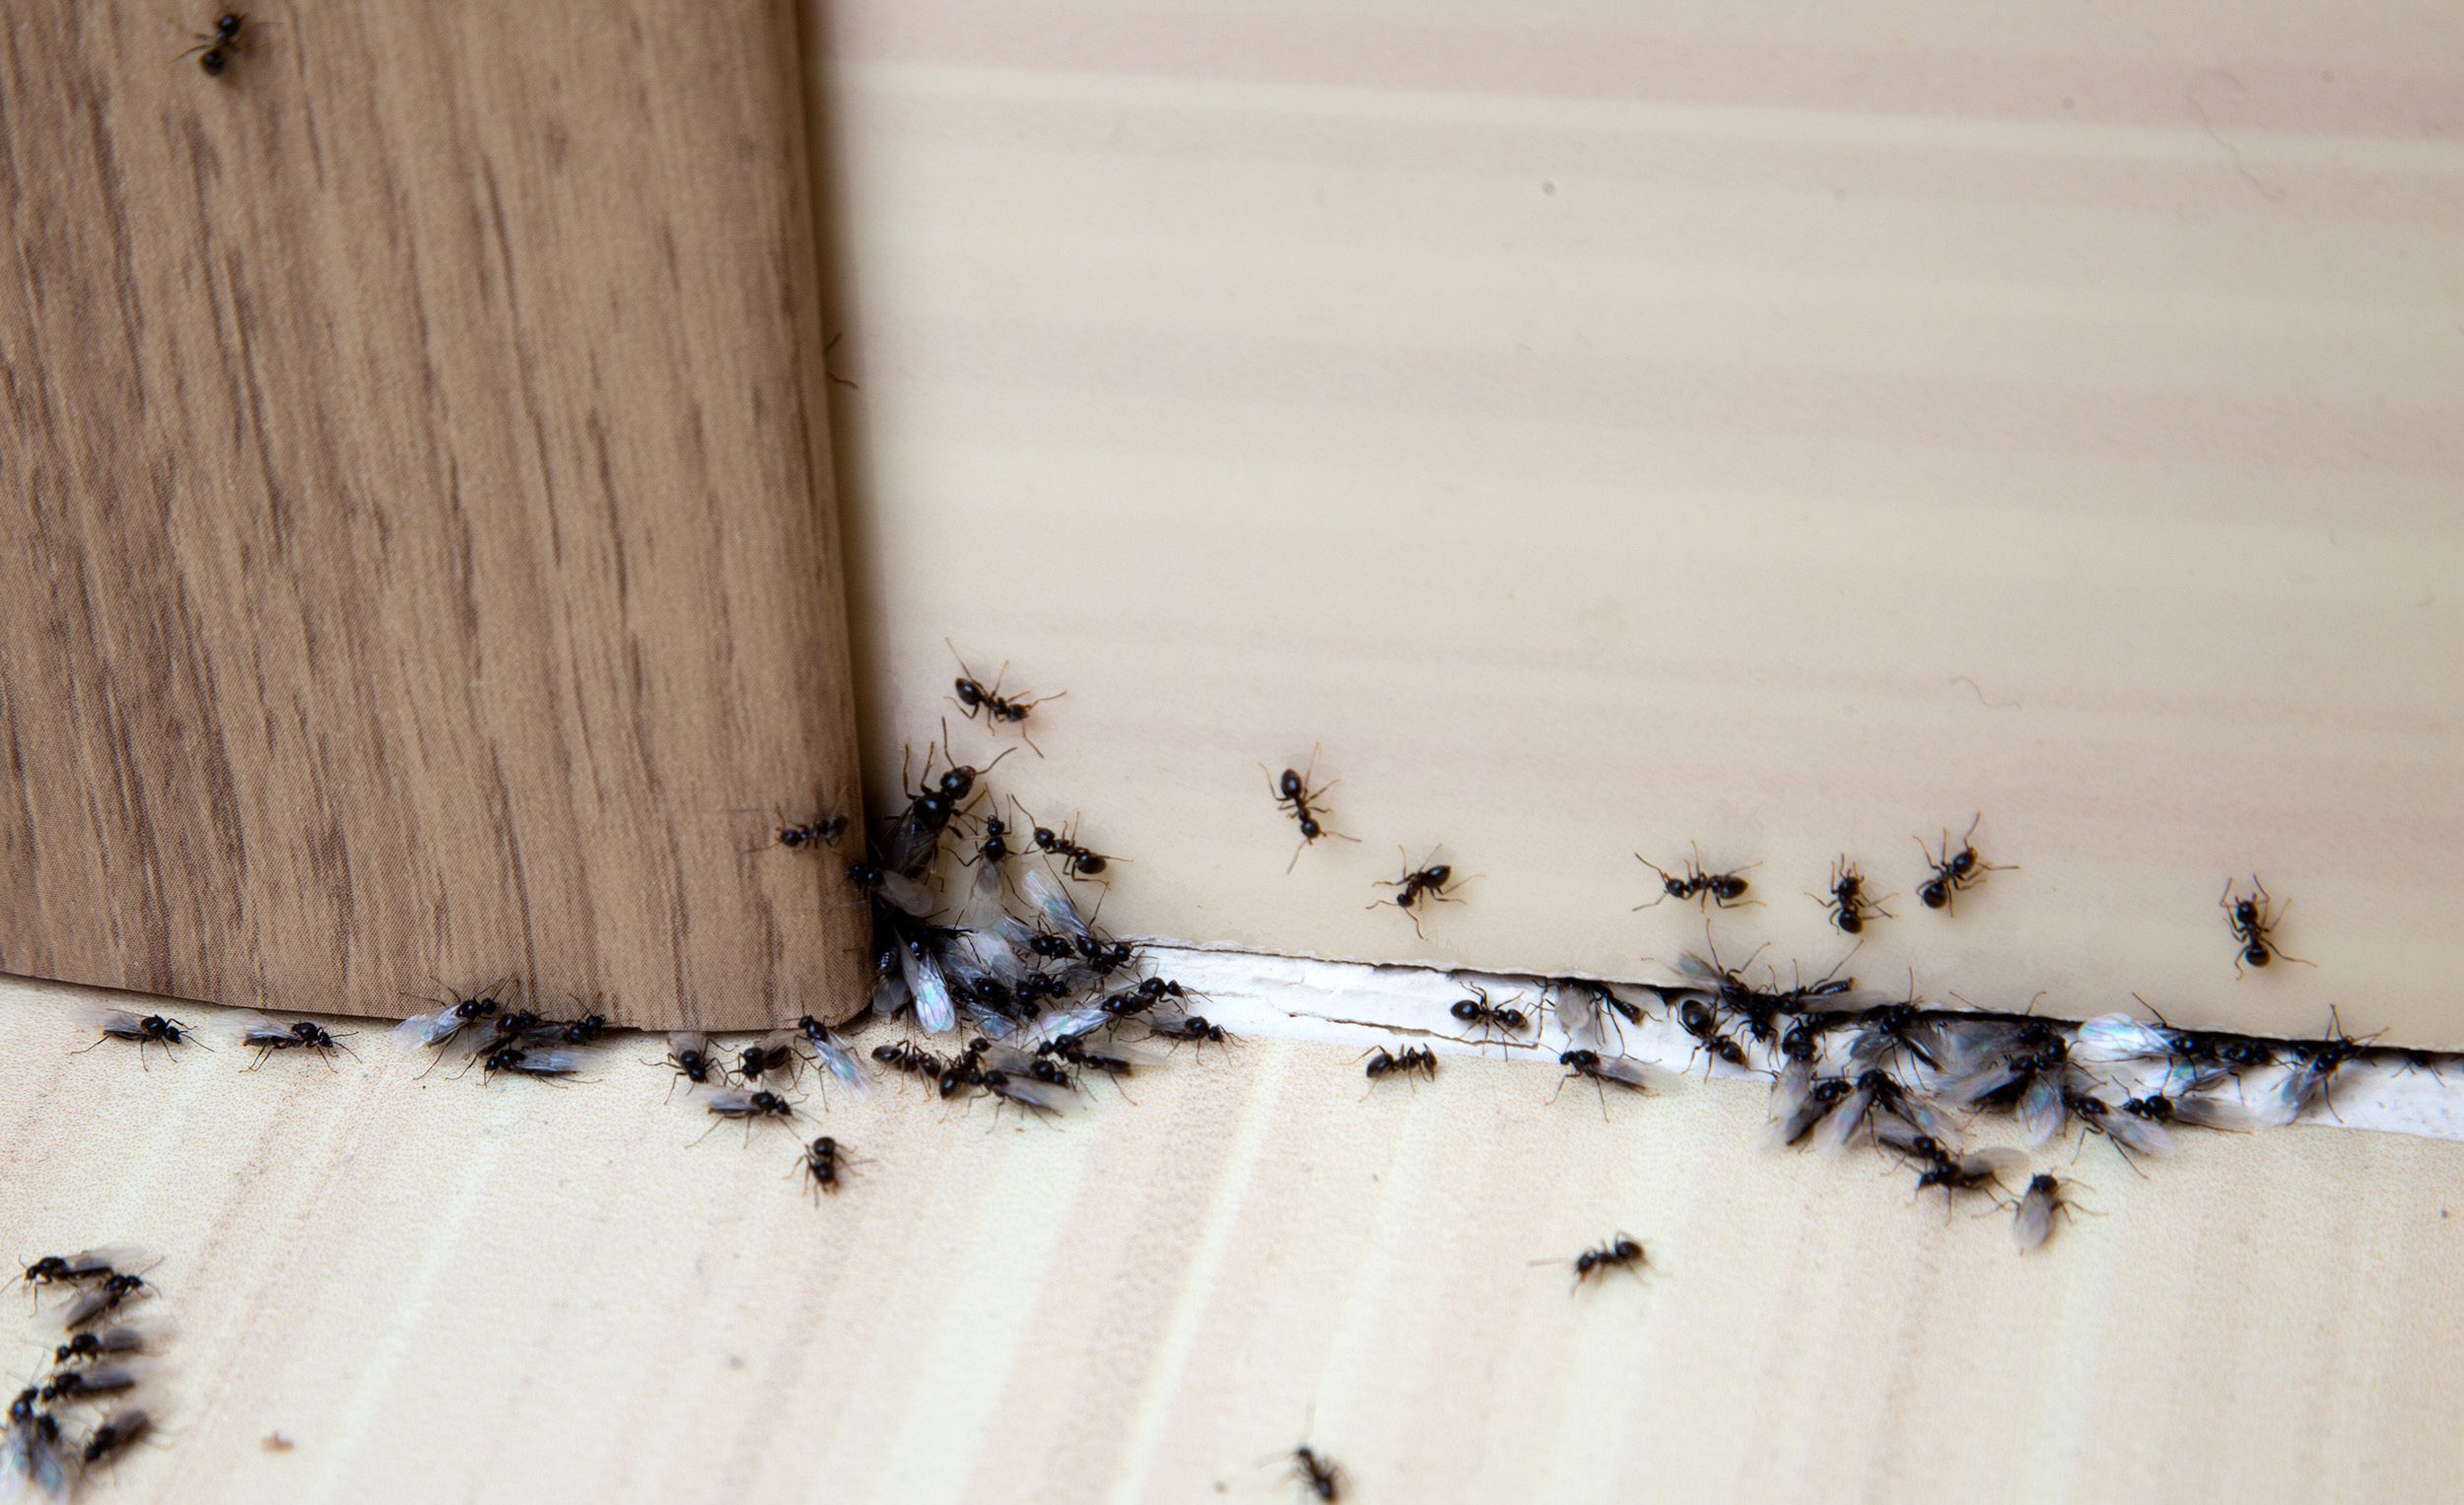
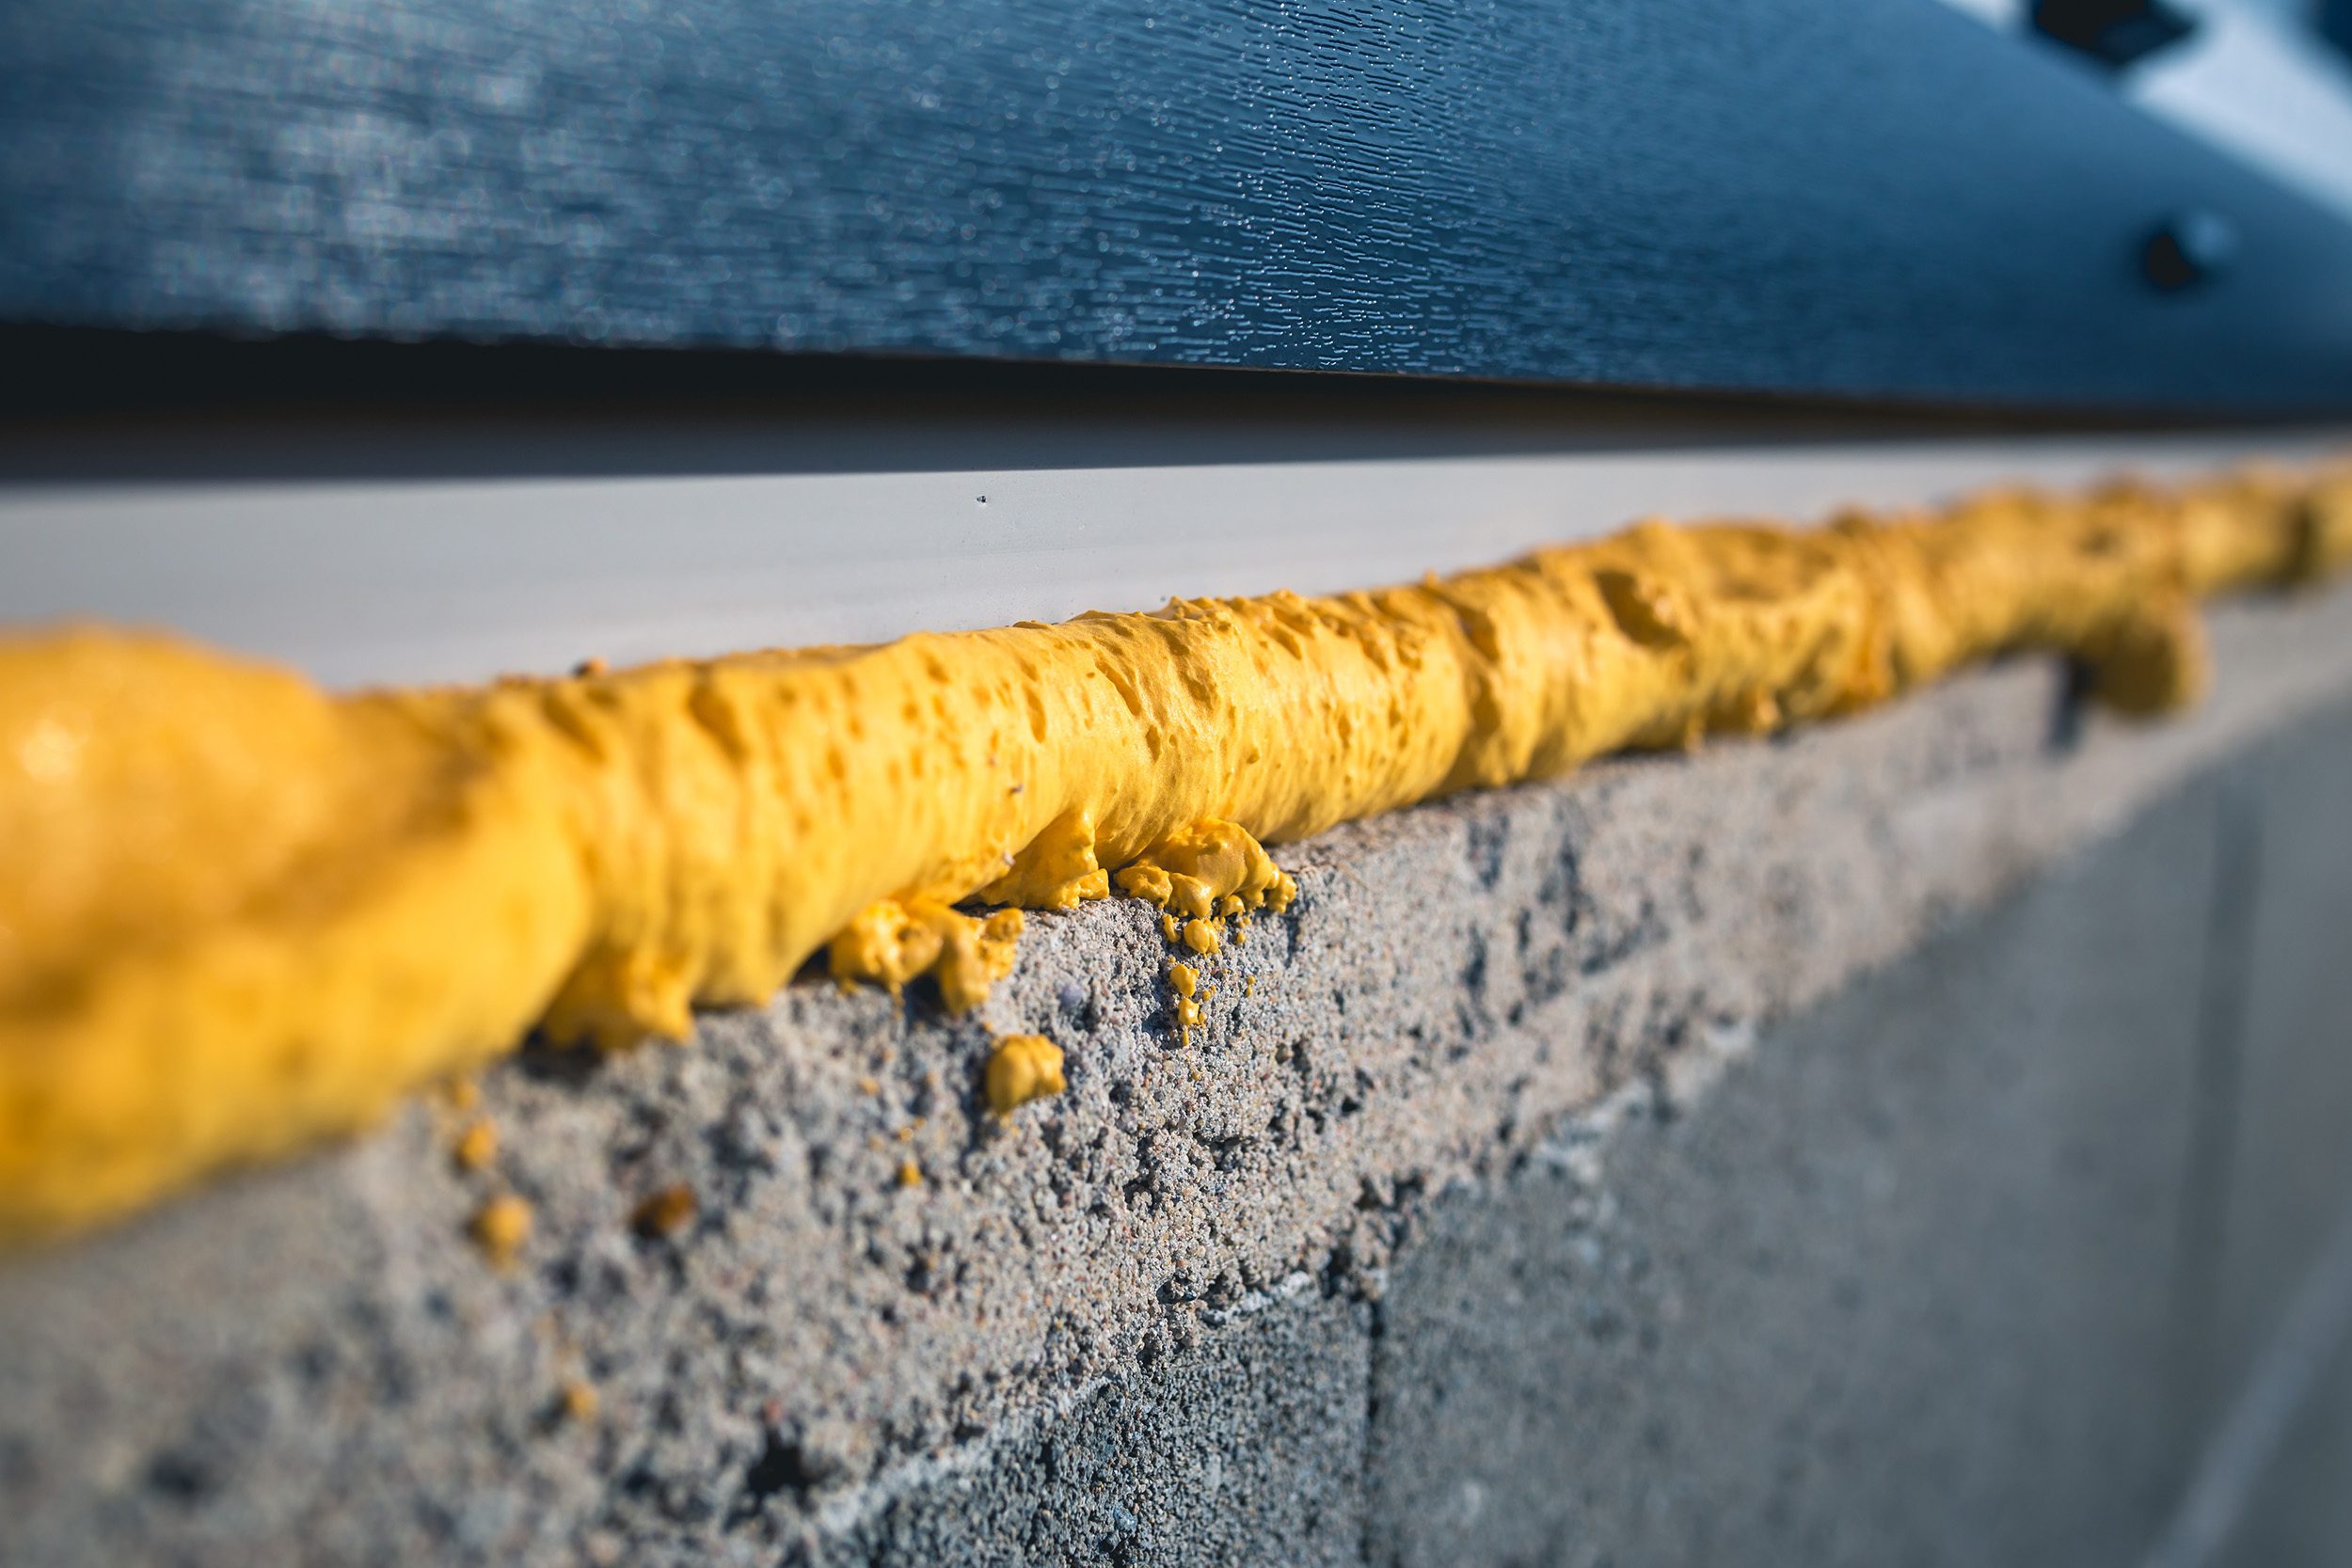
- Air seal your home. An open window, cracks, gaps, and holes in your home can add up to two square feet, making it easy for small particles (along with bugs and rodents!) to get into your home. The good news? Air sealing is easy and inexpensive. All you need is some caulk, foam, weatherstripping, and an eye to spot the trouble spots. Check out this blueprint for what to look for, and when you’re ready, learn just how easy it is here.
- Wash bedding regularly. Dust mites feed on skin cells and live in fabrics like bedding and carpets. They are a common allergen, and though microscopic, they can really impact your health. Wash your bedding in hot water regularly to reduce exposure and kill dust mites, including their nests.
- Vacuum and dust frequently. Allergens can settle on surfaces and in carpets and mattresses, so it’s important to vacuum and wipe down tables, countertops, and other surfaces that may collect particles.
- Use High Efficiency Particulate Air (HEPA) filters. HEPA filters in vacuum cleaners, HVAC systems and air purifiers can trap allergens like pet dander, pollen, and dust mites – even some bacteria and viruses – and remove them from your living environment. HEPA filters in surface cleaners, like vacuums, and air filters in HVAC systems or air purifiers, can knock down both surface and airborne allergens.
- Replace filters regularly. Be sure to check your filters on a regular basis and have fresh, clean ones on hand to replace when needed. This will keep them working at their greatest capacity, allowing air flow but also trapping those symptom-causing particulates.
- Be cognizant of other triggers, like food (peanuts, lactose, eggs) or medication. Pay attention to when you feel your symptoms trigger and see if there are any patterns that might point to unexpected allergens.
- If you have asthma, pollen and other allergens can trigger it. Avoid smoking, like cigarettes, second-hand smoke, incense, and chemical-heavy cleaning solutions. Consider mixing your own cleaning solution with ingredients that won’t trigger symptoms. Check out some ideas here.
- There are many asthma-friendly certified household products. From flooring to cleaning products to bedding and beyond, and this certification website can help you find appropriate products that will help you breath better and be more comfortable in your own home.
With the right tools, additional cleaning, and air sealing your home, you can reduce your exposure to triggering allergens and start enjoying the summer season.